Cut-Line Preparation and True-Shape Nesting in Adobe Illustrator
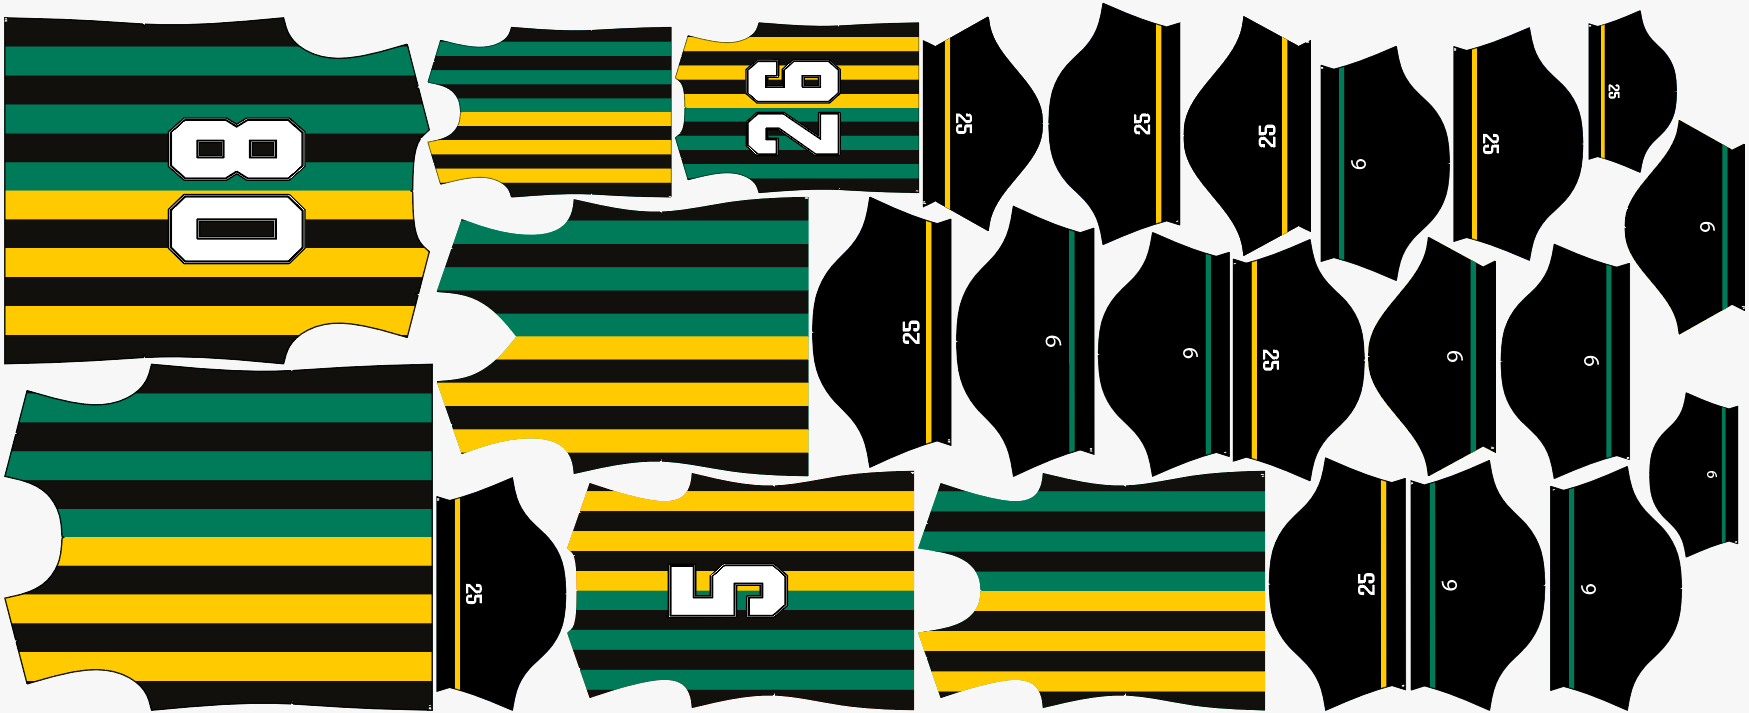
Preparing files for wide-format printing, CNC machining, or laser cutting requires separation of print data and cutting contours. Manual file preparation across multiple layers is prone to human error and consumes production time.
This tutorial details the technical prepress workflow using Arrange Master, a professional Adobe Illustrator plugin. The workflow covers cut-line generation, algorithmic true-shape nesting, and automated layer distribution using the included Prepress Splitter script.
Phase 1: Generating Cut-Lines
Before executing any nesting algorithm, every asset requires a defined vector boundary. The production hardware (plotters, CNC routers) reads this boundary to execute the physical cut.
Vector Objects

If your artwork consists of vector paths:
Select the vector group.
Navigate to Object > Path > Offset Path. Enter your required bleed value (e.g., 2 mm) and set Joins to Round.
Open the Pathfinder panel and click Unite to merge the offset paths into a single solid silhouette.
Remove the fill and apply a 1pt stroke. Assign a Spot Color (e.g., 100% Magenta named "CutContour") to this stroke.
Raster Objects (PNG, JPG, TIFF)
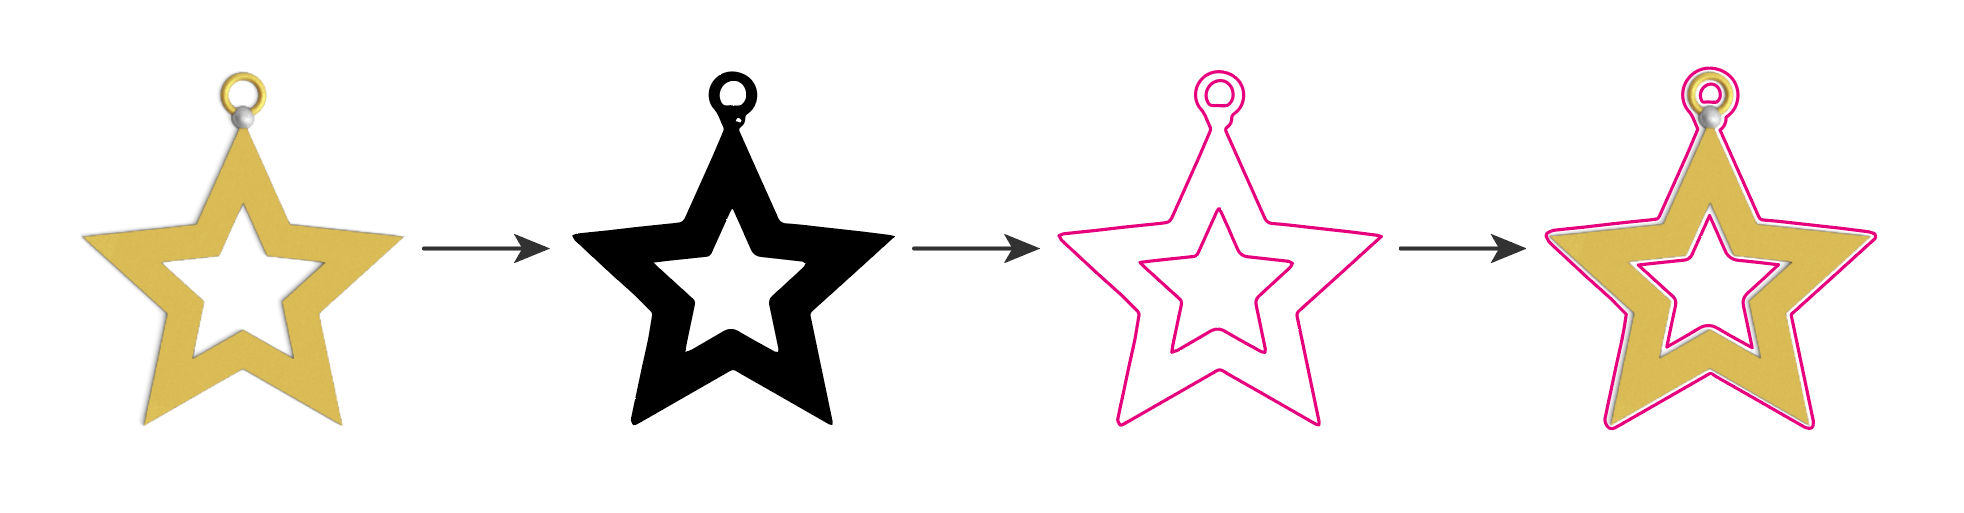
If your artwork is a raster image without transparency data formatted for Illustrator:
Select the raster image.
Open the Image Trace panel (Window > Image Trace). Set the preset to Silhouettes and adjust the Threshold until the contour matches the object boundaries.
Click Expand in the control panel to convert the trace into vector paths.
Apply the Offset Path function as described above to create the final cut-line, then delete the initial trace path.
Group each artwork with its corresponding cut-line. The cut-line should sit on top of the print data within the group hierarchy.
Phase 2: True-Shape Nesting Strategies
Once your assets are grouped (Print + Cut + Marks), you must pack them into the production artboard. Arrange Master uses a background Chromium Math Engine to evaluate the exact vector geometry of the cut-lines, calculating the optimal interlocking placement.
Select your asset groups and your container path, then open the Greedy Layout or Shape Respect tab in Arrange Master. Ensure the Dense Packing checkbox is enabled to activate the true-shape nesting engine.
Configure the parameters based on your specific manufacturing hardware:
A. Print Shops (Roll Plotters)
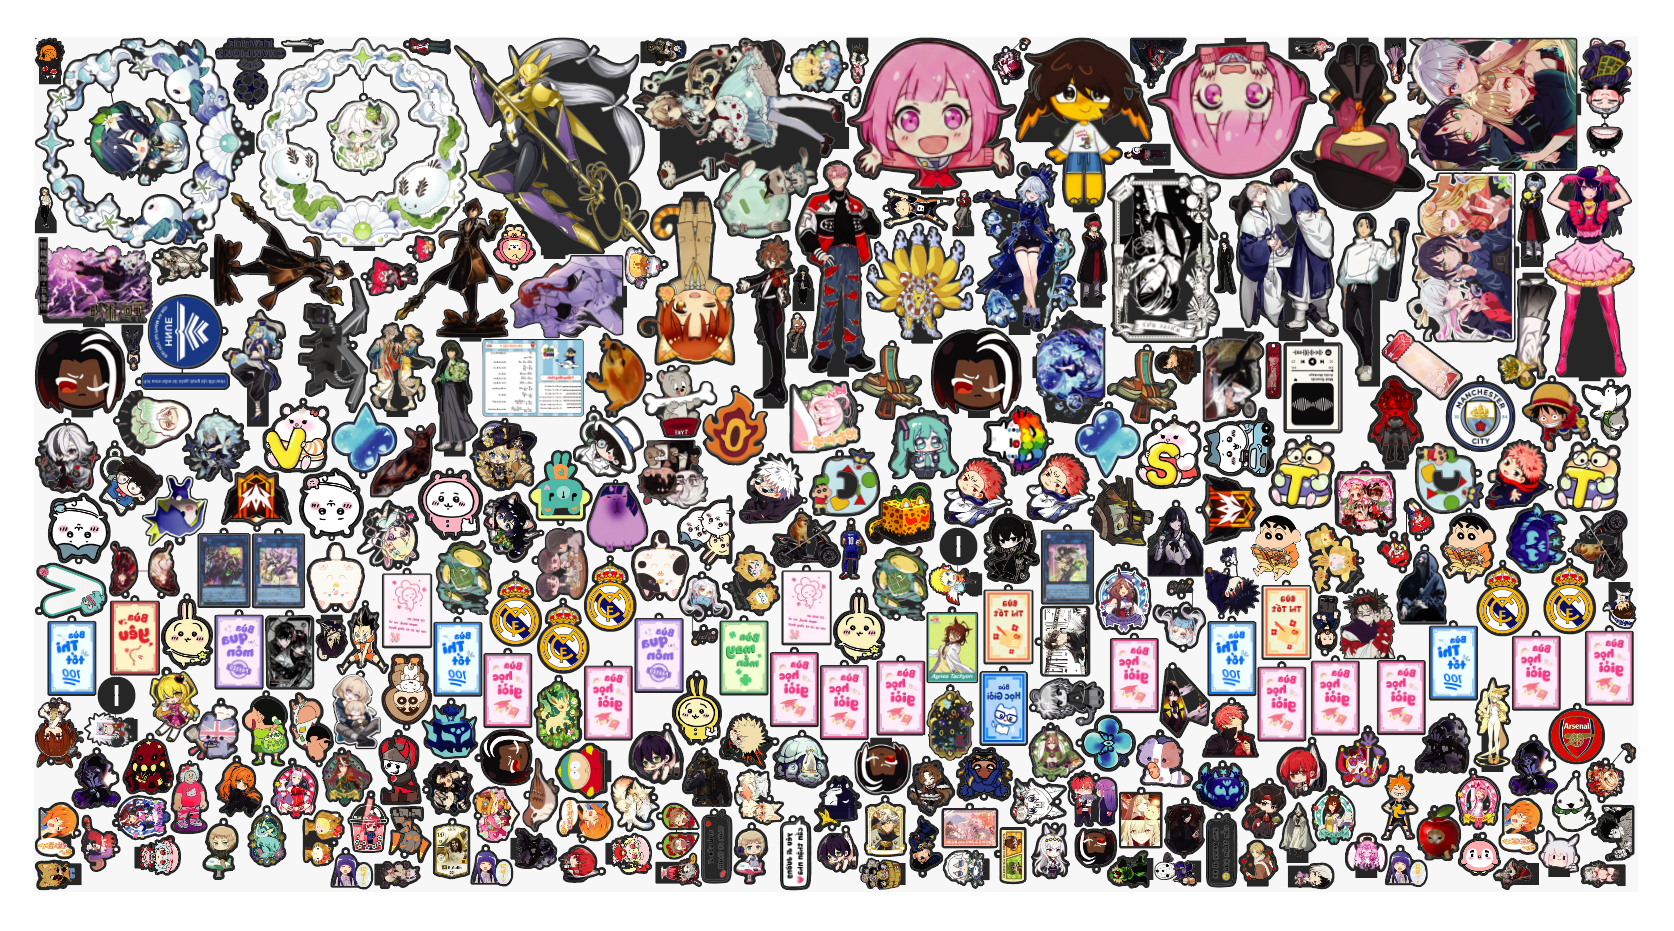
Wide-format printers require the layout to consume the minimum possible length of the media roll.
Vector Gravity: Enable Y-Gravitation. The algorithm forces objects horizontally (Left-to-Right), keeping the print job as short as possible along the Y-axis.
Rotation: Enable 90° Turn. Orthogonal rotation provides high density without distorting text or recognizable print elements.
Spacing: Set Min. Spacing to your hardware's safe tolerance (e.g., 2 mm).
Evolution Stepper: Set between 5 and 10 generations for fast processing on large datasets (500+ items).
B. Laser Cutting and CNC
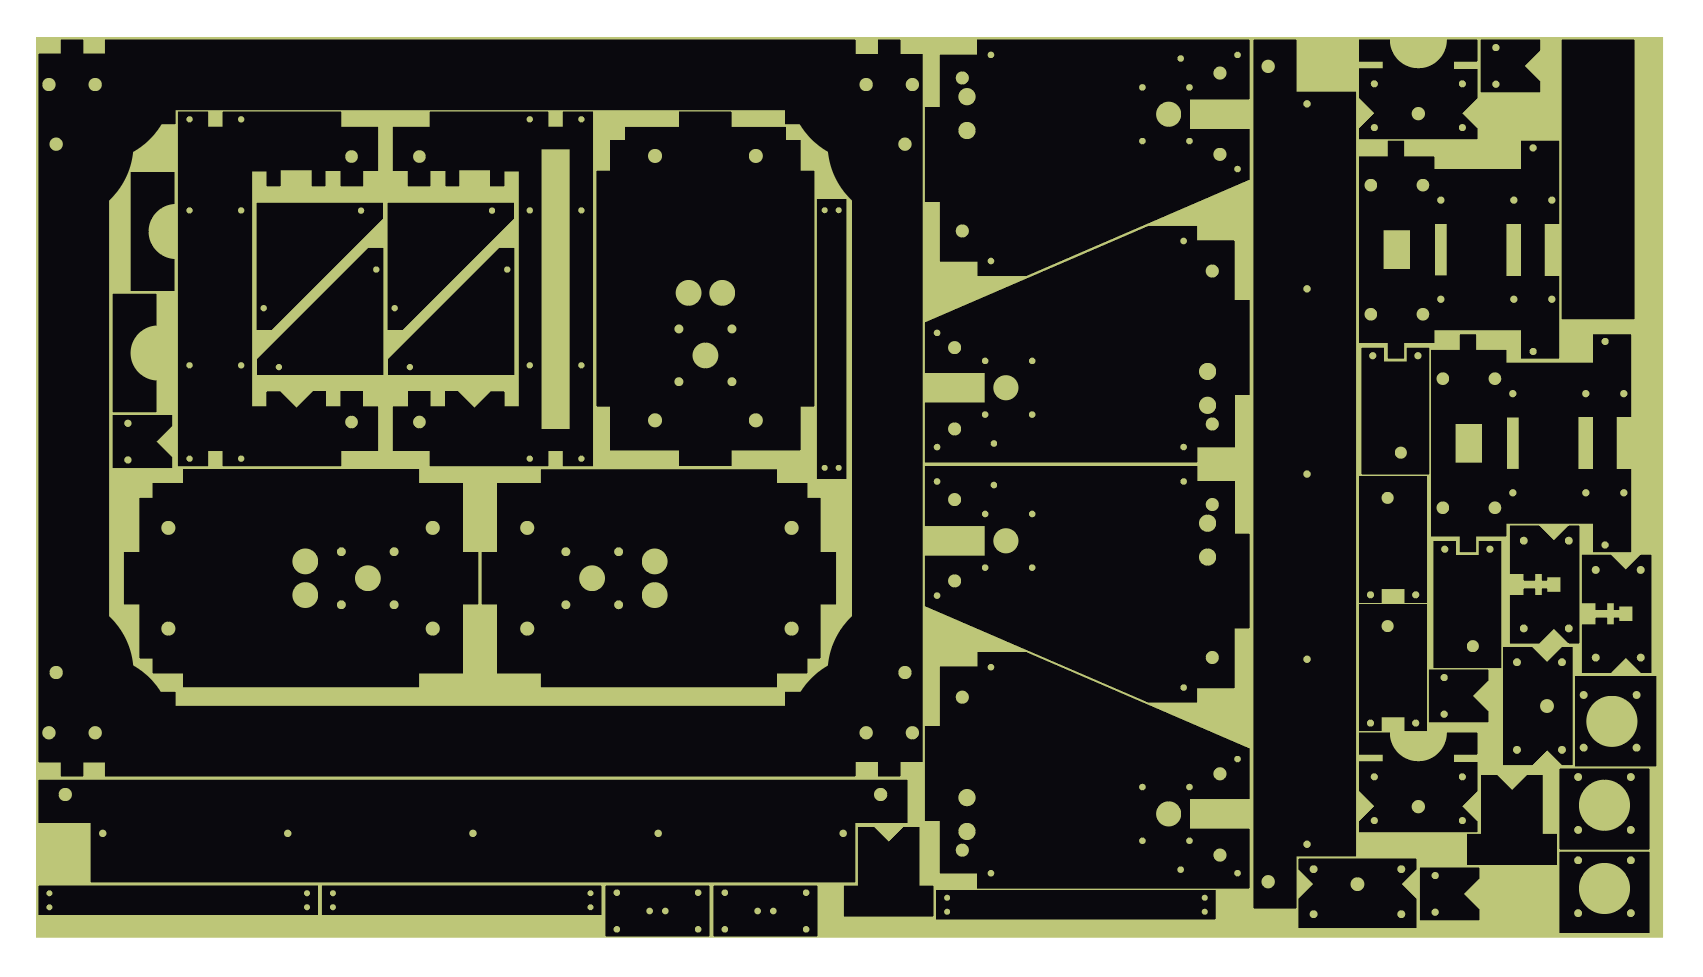
CNC machining handles rigid materials (wood, acrylic, metal) where minimizing total sheet waste is the primary metric.
Vector Gravity: Enable X/Y-Gravity (Dual Gravity). The algorithm pulls objects diagonally toward the origin corner, eliminating internal cavities and forming a highly compressed block.
Rotation: Enable 360° Turn. The engine evaluates 24 different angles for every part, interlocking complex mechanical components perfectly.
Evolution Stepper: Set between 15 and 25 generations to force the genetic algorithm to calculate deeper mutation sequences for maximum density.
C. Textile and Apparel Design
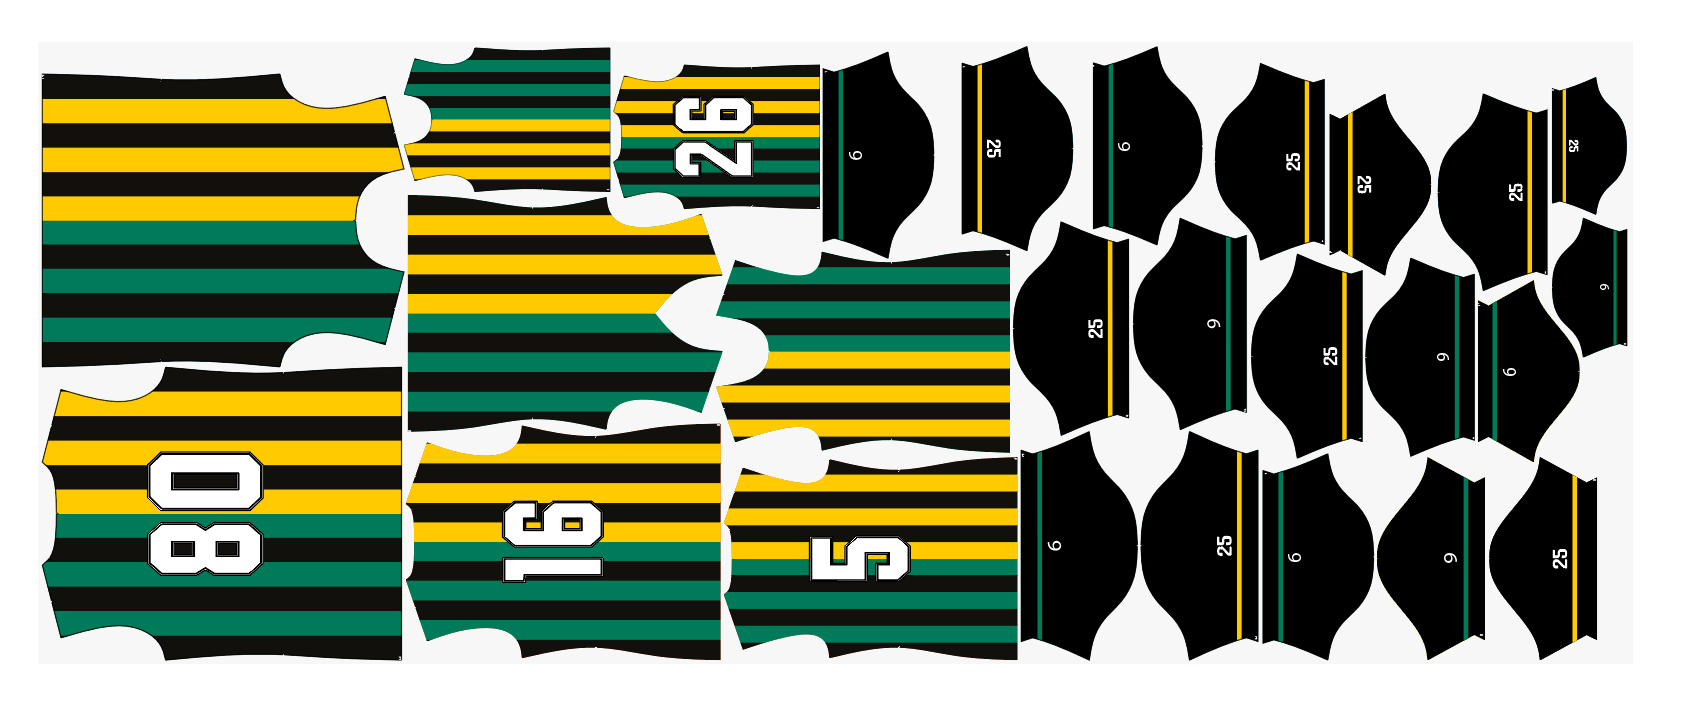
Fabric printing and cutting must account for the material's grainline (the direction of the woven threads) to maintain proper elasticity in the final garment.
Vector Gravity: X-Gravitation (Top-Down).
Rotation: Enable 180° Turn. This allows the algorithm to flip patterns upside down to save space, but strictly prevents 90-degree or free rotations, preserving the structural grainline of the fabric.
Phase 3: Automated Layer Distribution
Arrange Master nests your items mathematically. However, RIP (Raster Image Processor) software requires specific data to be isolated on dedicated layers (e.g., a layer strictly for vectors, a layer strictly for rasters).
Manual separation of 500 nested groups breaks production timelines. To resolve this, the Arrange Master package includes a companion script: Prepress-Splitter.jsx.
Executing the Prepress Splitter
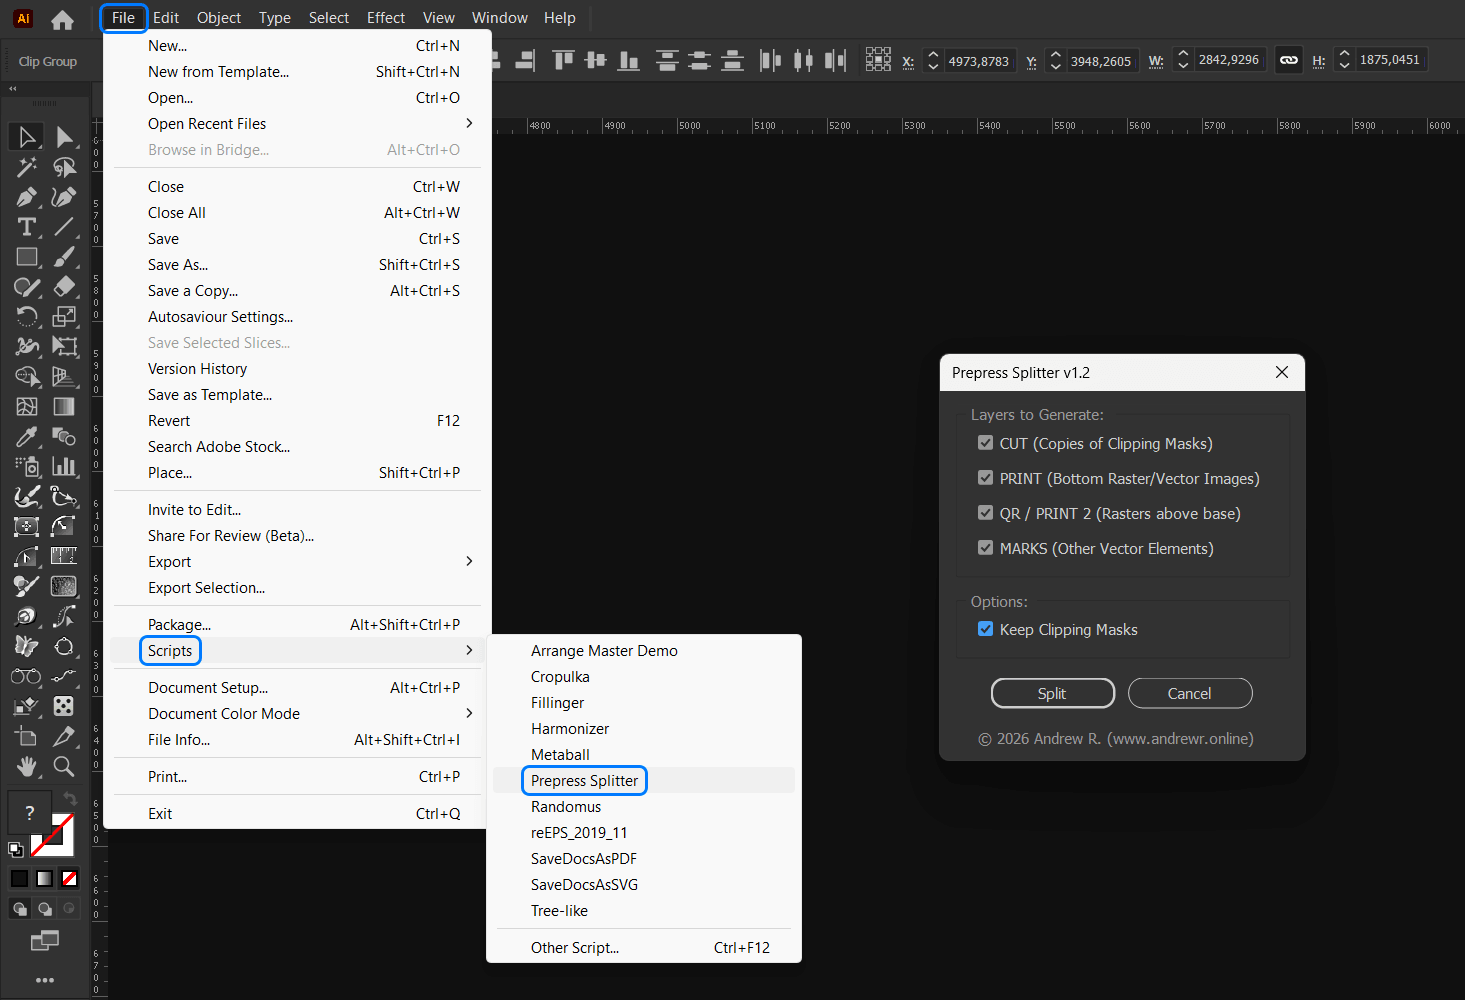
After finalizing your layout in Arrange Master (clicking Ok to end the session):
Select all the nested groups on your artboard.
Navigate to File > Scripts > Other Script... and execute the Prepress-Splitter.jsx file.
A dialog box will appear. Select the required target layers.
How the Splitter Distributes Entities
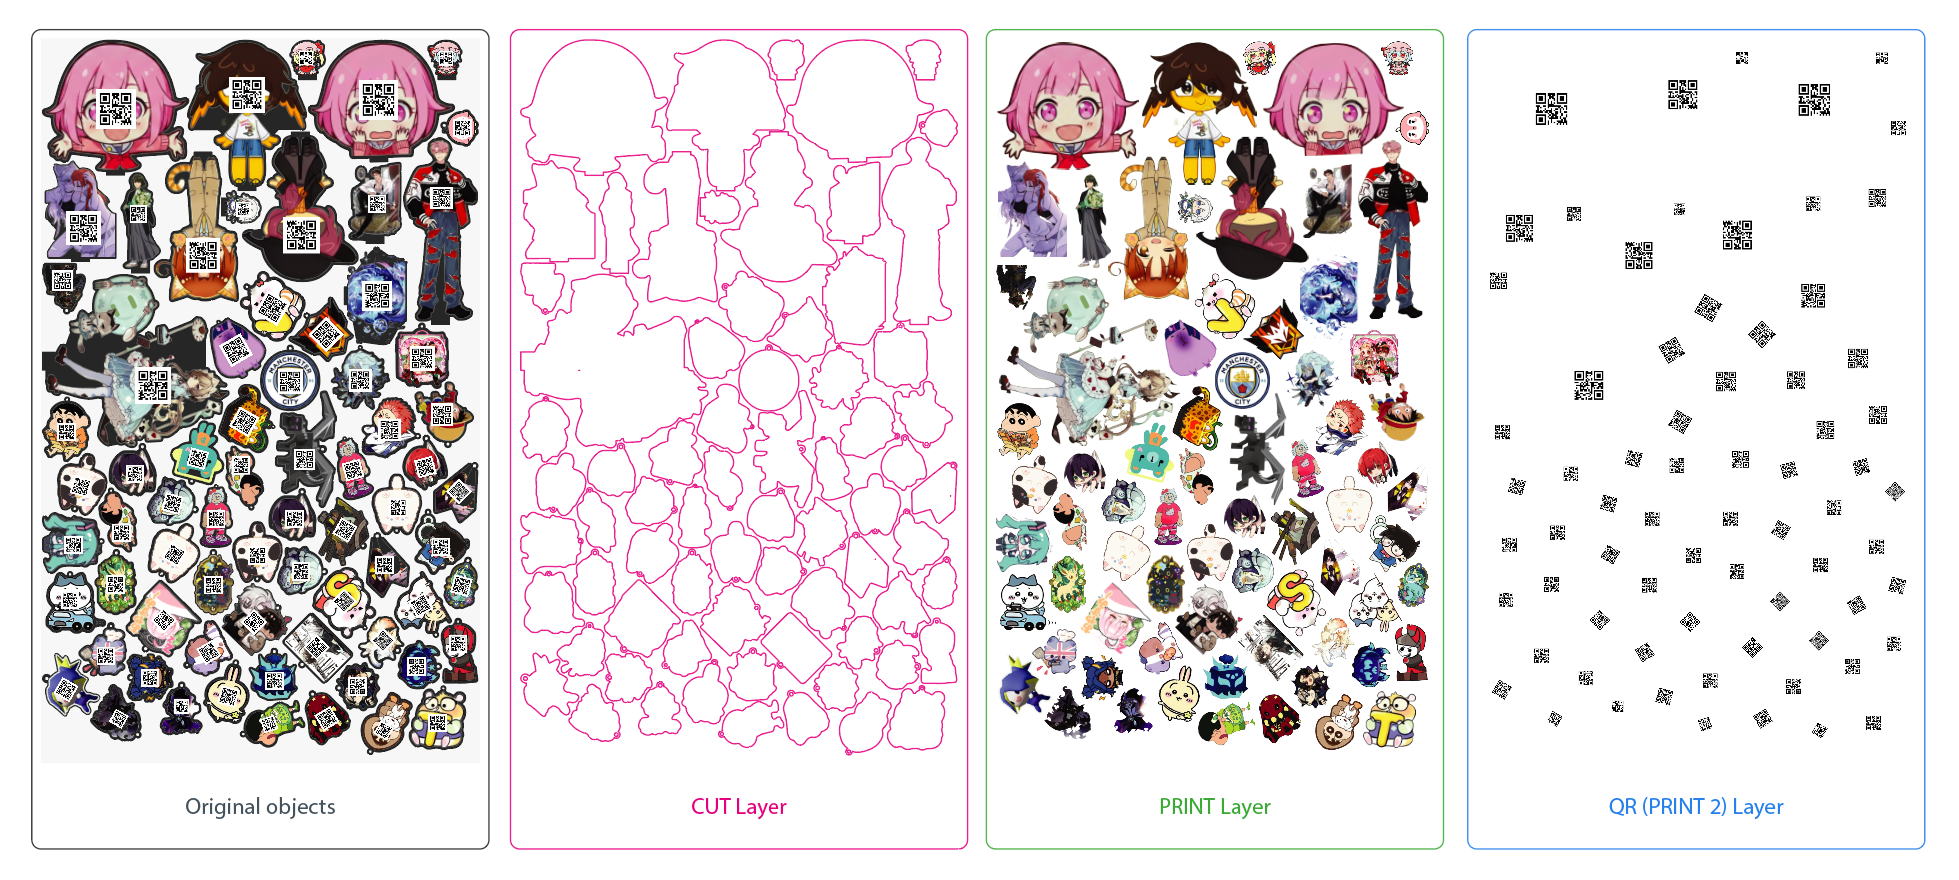
The script parses the internal DOM structure of every selected group and routes the components to specific layers based on object type:
CUT Layer: The script isolates the top vector path (or clipping mask) of the group, enforces a 100% Magenta stroke, and moves it here.
PRINT Layer: The script identifies the base raster image or embedded file and routes it to this layer.
QR Layer (PRINT 2): Any secondary raster elements stacked above the base image (like variable QR codes or spot varnish data) are isolated here.
MARKS Layer: Auxiliary vector elements not functioning as cut contours are sorted into this layer.
The original groups are deleted, leaving a clean, production-ready document formatted precisely for prepress software.